
Drill for Anime Best Characters to Unlock First
Phase-by-phase priorities for Nomel Studios' drill collector so you spend currency on roles that actually scale.
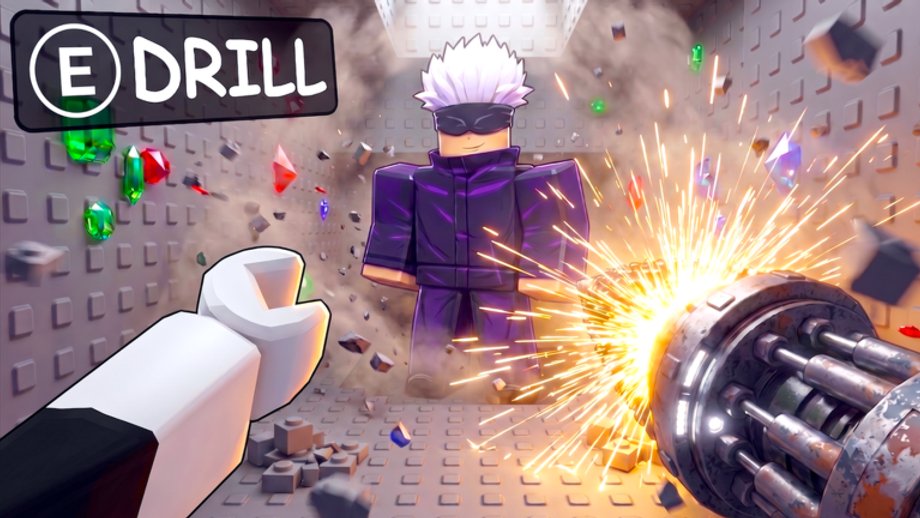
Choosing what to unlock first in Drill for Anime is less about memorizing a leaked chart and more about understanding which roles carry progression at each phase. Nomel Studios’ drill loop rewards players who improve throughput and luck before they chase cosmetic flex picks. This guide breaks investment into early, mid, and late priorities using role categories you can map to whatever names appear in your inventory — without inventing units that might not exist in place 117459530347460.
Read the Tier List Hub for S–D definitions, then return here when you are holding currency and need a spend order. If you are brand new, pair this page with Getting Started and redeem any working boosts from Codes Hub before your first big unlock session.
Principles every phase shares
Before phase-specific lists, internalize four rules that survive patches:
- Luck scales rare outcomes — Early luck multipliers often outperform raw drill damage because they affect the items that unlock faster zones.
- Drill speed has diminishing returns — Once you one-shot common nodes, further speed needs luck or drop quality to stay meaningful.
- Passives beat active micromanagement — Roles that buff you while idle or between sessions compound on Roblox play patterns.
- Verify in your UI — Open each character’s stat panel and compare numbers; wiki role labels are templates, not substitutes for reading tooltips.
Never reroll currency because a Drill for Brainrots clip labeled a different name as S-tier. Cross-game advice is the fastest way to stall account progress.
Early game priorities (first session to first zone clear)
Your first hour should stabilize income and teach the dig loop. Prioritize roles in this order:
Tier priority: luck amplifier (S-tier role)
Why first: Rare drops unlock drill upgrades and zone gates faster than grinding commons.
What to look for in UI: Percent luck, rare chance, shard multiplier, or equivalent wording on character cards.
Spend rule: If a pull offers a modest luck boost over a flashy high base power with zero luck, take luck unless the power gap blocks basic node breaks entirely.
Tier priority: drill speed enabler (A-tier role)
Why second: Once luck is non-zero, faster cycles multiply that luck across more rolls per minute.
What to look for: Drill speed, swing rate, mining cadence, or dig cooldown reduction.
Spend rule: Stop investing beyond the point you clear the current zone’s common nodes in one action; redirect currency to luck or storage capacity.
Tier priority: starter passive income (B-tier role)
Why third: Offline or passive coin trickles matter when you play short mobile sessions.
What to look for: Coins per second, idle accumulation caps, or auto-collect radius.
Spend rule: Accept B-tier passives early; replace them in mid game when percentages double.
Deprioritize early (D-tier roles for now)
- Pure cosmetic variants without stat lines
- Niche PvP stats if PvE drilling is the only path available
- Duplicate collectors with identical numbers to something you already equipped
Mid game priorities (second zone through rebirth prep)
Mid game is where players waste currency chasing single-stat spikes. Shift focus:
Composite luck + speed packages (S-tier role)
Why: Separate luck and speed pieces fall behind combined buffs that reduce inventory swapping.
What to look for: Characters or upgrades listing both luck and drill speed, or a team buff that applies to whichever pick you equip.
Spend rule: Upgrade one composite anchor before spreading levels across three single-stat backups.
Drop quality or rarity shift (A-tier role)
Why: Mid zones introduce higher rarity tiers; buffs that shift rarity labels outperform flat common coin bonuses.
What to look for: Rarity upgrade chance, epic-or-above bias, or shard type filters — confirm wording in Rarity Guide.
Inventory and storage enablers (B-tier role)
Why: Better drops clog bags and force sell trips that zero out luck windows.
What to look for: Capacity, auto-sell filters, or magnet radius for loot.
Situational event picks (C-tier until event live)
Hold event-specific buffs for limited windows announced on Updates Hub or Discord. Outside events, keep them at C-tier so they do not steal upgrade materials from your composite anchor.
Late game priorities (rebirth layers and completionist goals)
Late game decisions assume repeatable rebirth or prestige loops common in drill collectors:
Rebirth multiplier carriers (S-tier role)
Why: Permanent or semi-permanent multipliers define late efficiency more than incremental drill speed.
What to look for: Rebirth bonus retention, prestige currency scaling, or post-reset luck floors.
Spend rule: Feed the multiplier that stacks multiplicatively, not additively, if tooltips distinguish them.
Targeted rarity hunters (A-tier role)
Why: Completionists chase specific rarity bands for collections or trading if added later.
What to look for: Label-specific drop bias; verify labels against live Rarity Guide tables.
Luxury quality-of-life (B-tier role)
Auto-features, UI shortcuts, and cosmetic auras with tiny stats belong here. Buy them after power roles cap.
Collection placeholders (C- to D-tier)
Duplicates for museum or index completion are valid long-term goals but should not starve rebirth carriers of materials.
Sample investment order (checklist)
Use this sequential checklist when you are unsure what to buy next:
- Equip best available luck amplifier.
- Raise drill speed until zone commons die in one hit.
- Add passive income if sessions are under fifteen minutes.
- Merge toward composite luck-speed picks entering mid game.
- Invest in drop quality before raw coin percent bonuses.
- Expand storage before buying vanity duplicates.
- Shift spend to rebirth multipliers once the loop resets.
- Fill collection gaps only after step seven plateaus.
Adjust when patch notes on Updates explicitly buff or nerf a role category.
When to stop upgrading a character
Sink currency into the next role when any of these trigger:
- Next level cost exceeds 15–20% of your typical ten-minute farm yield without doubling a visible stat.
- A newly unlocked zone introduces nodes your speed pick no longer breaks — pivot back to speed temporarily.
- Luck buffs stop moving rare notification frequency in your personal baseline test from the Tier List Hub.
Codes, luck boosts, and timing
If you hold luck boosts from How to Redeem Codes, spend them during steps 1 or 4 above — not during D-tier cosmetic shopping. Track disputed codes on Codes Hub so you do not plan sessions around strings that never worked in your client.
Related pages
- Tier List Hub — S–D framework and verification methodology
- Rarity Guide — how labels translate into spend decisions
- How to Get More Codes — luck boost sources tied to milestones
- Scripts Hub — why shortcuts do not replace role-based investment
Frequently Asked Questions
Quick answers for Drill for Anime on Roblox.
What should I unlock first in Drill for Anime?
Prioritize luck amplifier roles, then drill speed until you one-shot common nodes, then passive income. Exact character names vary — read stat lines in your UI.
Are luck or drill speed characters better early?
Luck usually wins early because it improves rare drops that gate progression. Add drill speed once luck is non-zero so you roll more times per minute.
Why does this guide avoid character names?
Launch rosters change quickly and are confused with Drill for Brainrots. Role-based priorities stay accurate without inventing units.
When should I start rebirth investments?
When the rebirth loop unlocks and multiplier carriers appear in your upgrade tree — typically late mid game. Feed multiplicative rebirth stats first.
Should I save currency for events?
Keep a small reserve if Updates or Discord announce limited events, but do not stall early luck investments for speculative banners.
How do codes affect character priorities?
Working luck boosts amplify steps 1 and 4 in the investment checklist. Redeem during farming sessions, not before buying unrelated cosmetics.